DO IT YOURSELF: Raised Bed Goal
Summer is just around the corner, and what could be better than a raised bed goal that the whole family can enjoy? Whether you're a football fan or a gardening enthusiast, the raised bed goal is guaranteed to put a smile on everyone’s face. It’s cleverly designed to serve both as a football goal with an integrated drink holder and as a functional raised garden bed. Let’s get started – time to build your own!
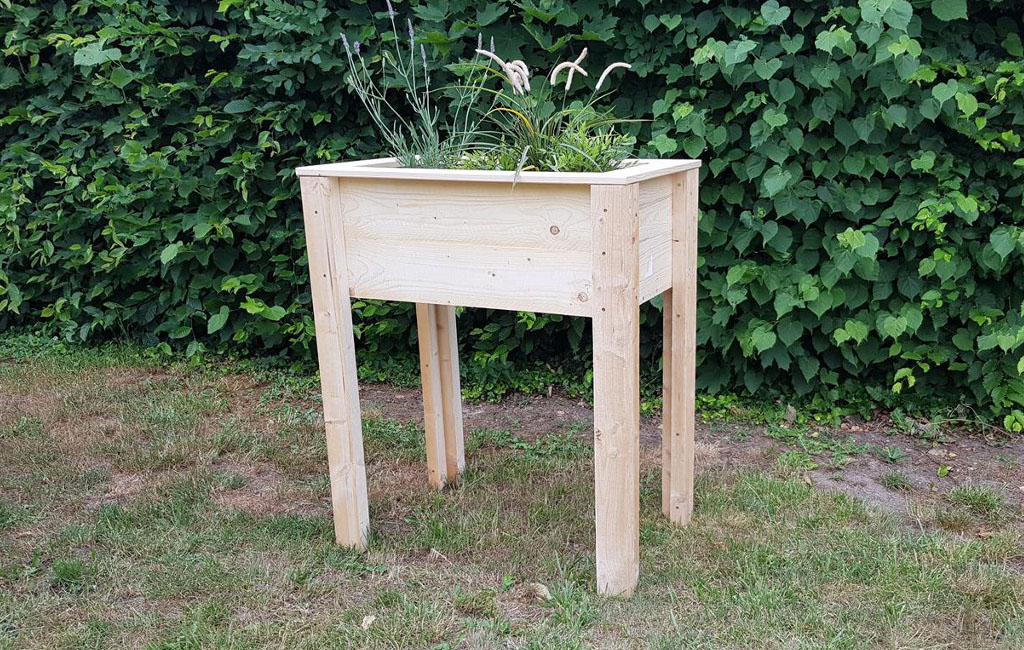
Tools & Materials
Material
- Screws for the entire project:
- 30 pieces, 4 x 70 mm
- Screws for the frame:
- 8 pieces, 4 x 70 mm
- Mortar tub:
- approx. 40 x 28.5 x 73 cm
- Wood for the legs – pine or larch:
- 4 pieces: 92 cm x 8 cm x 4 cm
- 4 pieces: 92 cm x 4 cm x 4 cm
- Cladding for the mortar tub:
- 2 pieces: 100 cm x 28 cm
- 2 pieces: 45 cm x 28 cm
- Edge/frame:
- 87 cm x 9 cm (long sides) and 51 x 9 cm (short sides)
- 4 cargo nets: 2 x 1 m
Building the Raised Bed
Step 1: Cutting
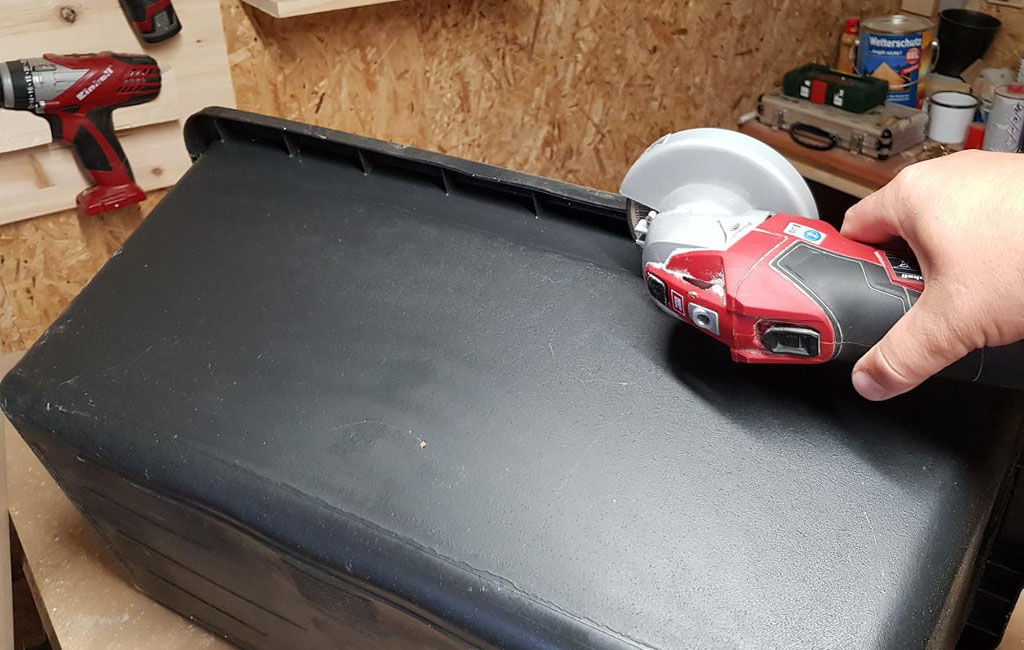
We’ll start with the mortar tub. First, cut off the top edge so that the tub isn’t too tall.
Step 2: Cladding the Mortar Tub
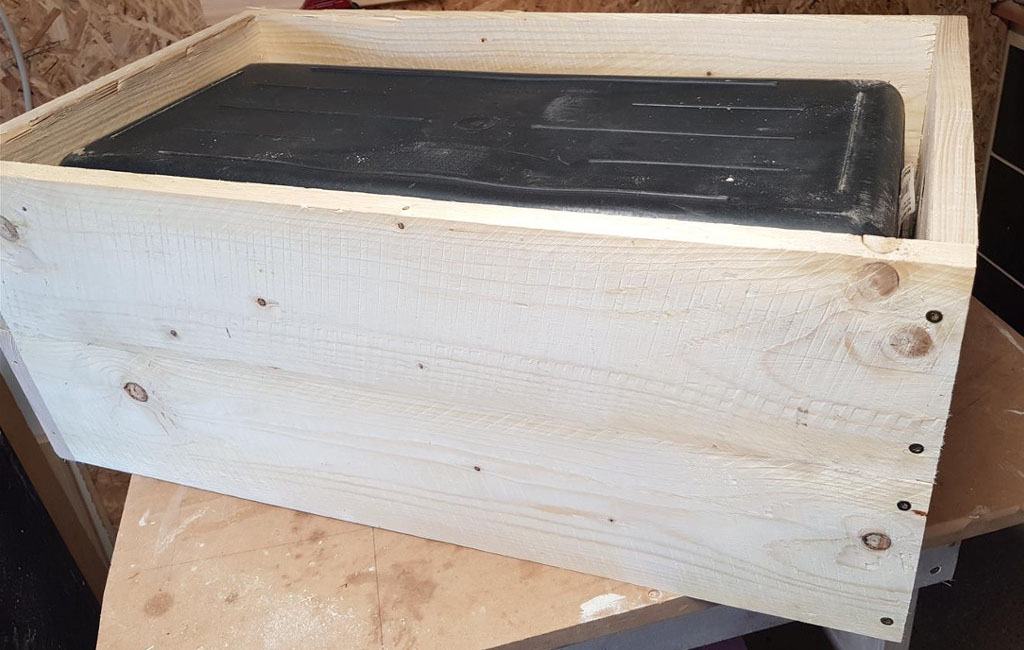
Place the wooden boards around the mortar tub, pre-drill the holes, and then screw the boards together using a cordless screwdriver.
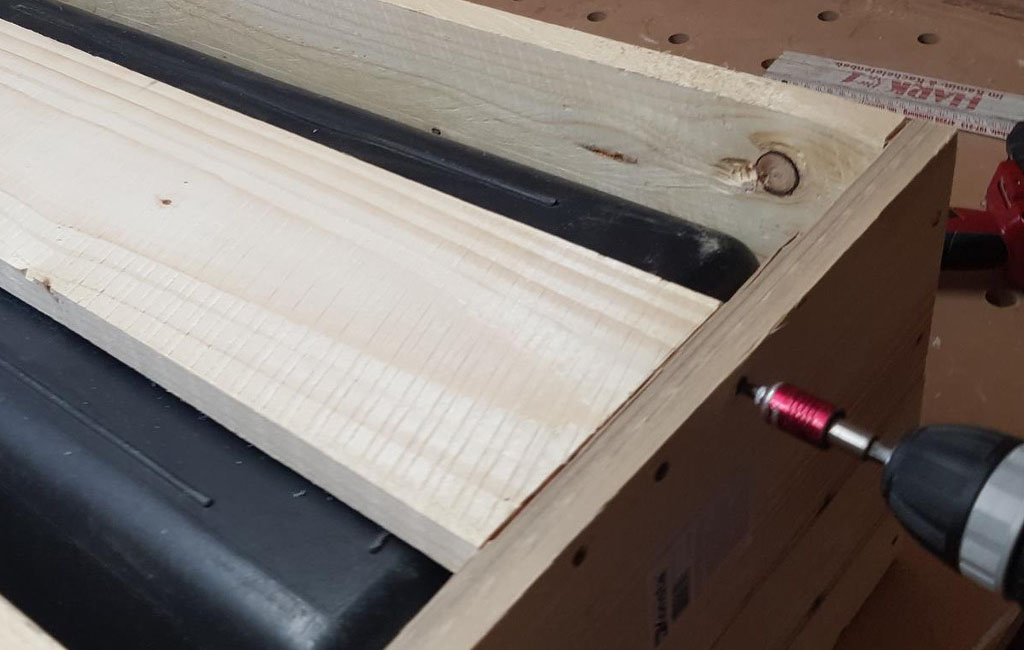
After fastening the boards, place a cross board at the bottom.
This board will prevent the mortar tub from falling through and provide additional stability. Measure the inside edge, cut the cross board to size, then pre-drill the holes and screw the board in place.
Step 3: Assembly
For the legs, I used boards that were 12 cm wide and 4 cm thick. I cut these boards lengthwise to get one board 8 cm wide and one 4 cm wide.
The height of the legs is up to you. I chose a height of 92 cm.
Next, place the cut 4 cm board on top of the 8 cm board. Pre-drill the holes and screw the two boards together.
If you want to use the raised bed later as a planter, make sure to drill holes in the bottom of the mortar tub so that excess water can drain.
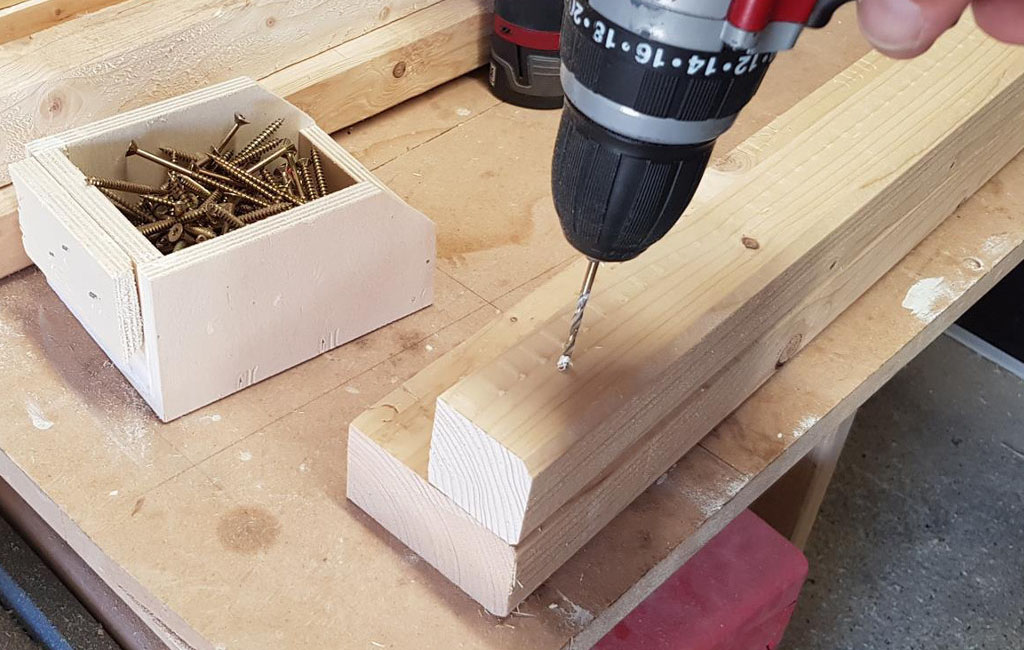
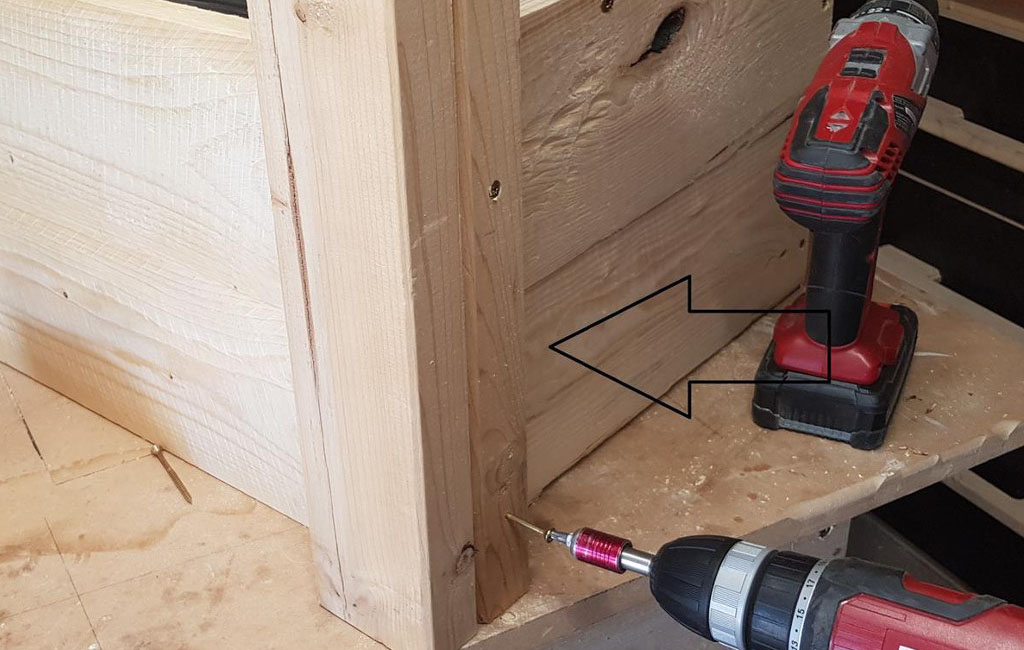
Now we’ll attach the legs to the tub. Screw the legs in place so that the narrower board always faces the shorter side of the tub. This creates a visually symmetrical look. You’ll need four screws for each leg to ensure they are securely attached – see the picture below.
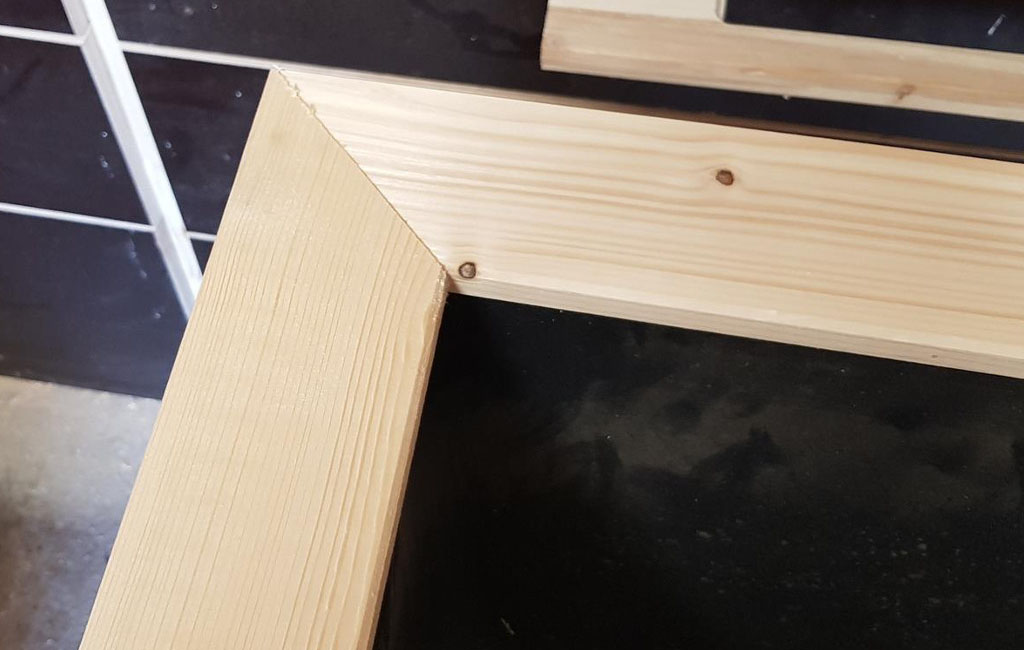
Next, we’ll attach the boards for the frame to the top edge of the tub. Measure the length of each side, cut the boards at a 45-degree angle using a miter saw, and fasten them to the top with screws—two screws per board.
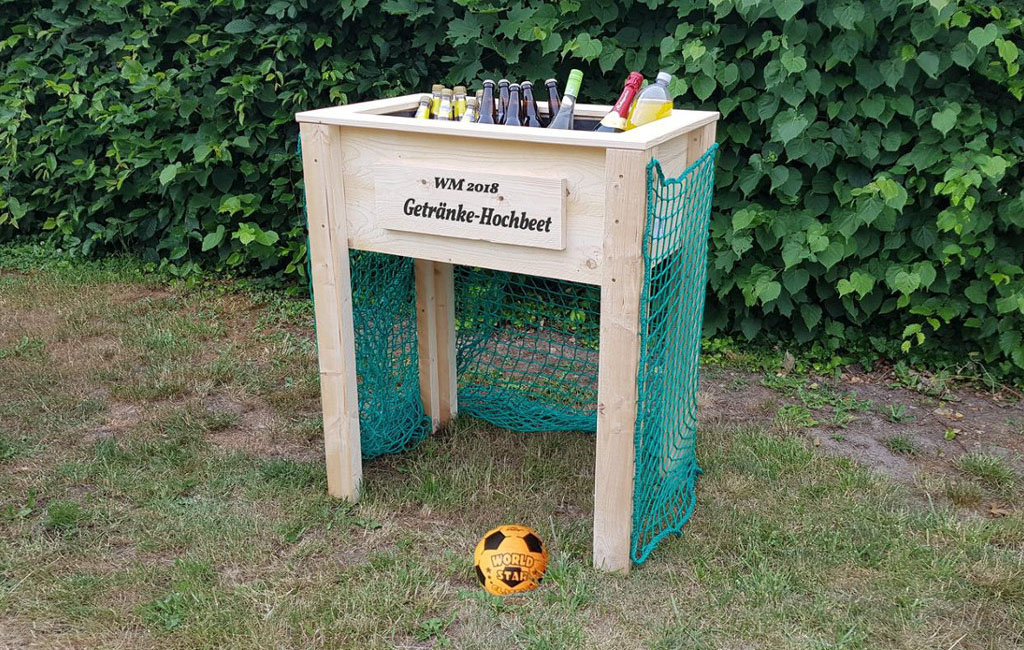
Step 4: Finishing Touches
A trailer cargo net works perfectly as the goal net because it’s particularly flexible and stretchable. To attach it, simply screw a few screws into the legs of the raised bed goal so you can hook the net onto them.
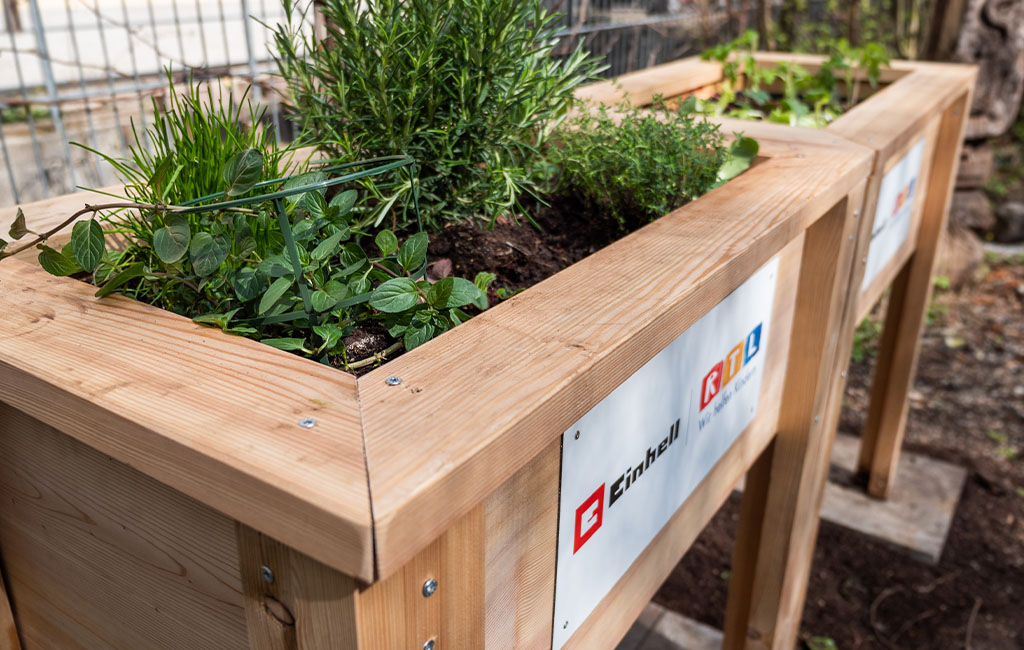
Now our tub is finished, and you can get creative with the design. It’s best to paint the raised bed with weatherproof paint to protect it from the elements.
Have fun building your own!
Tools Used
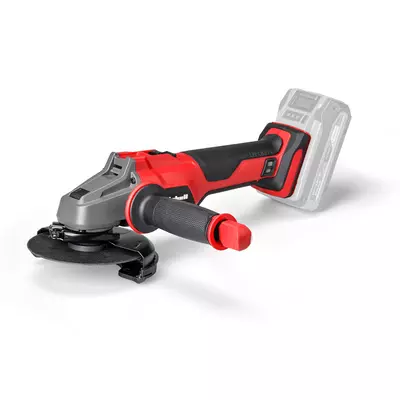
Here you’ll find the Einhell tools that were used to build the raised bed goal.
Product was added to the comparison list.
Product was removed from the comparison list.
Open comparison list


