Removing and Replacing Tiles – A Step-by-Step Guide
Whether it’s cracked floor tiles or damaged wall tiles, sometimes replacing individual tiles is unavoidable. But don’t worry – with the right instructions and proper tools, you can easily remove and replace damaged tiles. In this guide, we’ll walk you through the process step by step, from carefully removing old tiles and preparing the surface to laying new tiles. You’ll also learn when a repair is worthwhile and when a full replacement is the better option.
When and Why Should You Replace Tiles?
Not every damaged tile needs to be replaced immediately. Small cracks or damaged grout lines can often be repaired yourself. However, if more significant damage occurs – such as a tile breaking completely or becoming detached from the surface – you should take action. Cracks are often caused by tension in the subfloor or heavy loads, while loose or uneven tiles typically indicate installation errors. It becomes particularly frustrating when tiles are misaligned or create height differences. Not only does this look unattractive, but it can also be a safety hazard. Additionally, dirt and dust tend to accumulate along these edges when cleaning, making maintenance more difficult.
Our tip: Replacing individual damaged tiles is much easier if you have spare tiles on hand. If not, it’s worth visiting a specialist retailer to find matching tiles.
Repair or Replace Tiles? – When Is It Worth It?
A tile doesn’t always need to be replaced immediately. Minor damage can often be repaired with minimal effort, avoiding the need for a full tile replacement. Here’s an overview:
✅ Repair:
- Filling hairline cracks: Small cracks can be concealed using specialised repair compound.
- Fixing chipped edges: Damaged corners can be patched with repair or filler compound.
- Renewing grout lines: Damaged or dirty grout can be removed and replaced.
❌ Replace:
- Large cracks or chipping: If a tile is severely damaged, replacement is often the only option.
- Uneven tiles: Tiles that are higher or lower than others should be replaced, especially if they create trip hazards or interfere with cleaning.
- Cracked or loose tiles: If tiles become loose, it usually indicates underlying issues with the subfloor.
Step-by-Step Guide: Removing and Replacing Tiles
1. Gather Tools and Materials
Before you begin, make sure you have all the necessary tools and materials ready:
- Multitool with tile accessory set: For cleanly cutting grout lines.
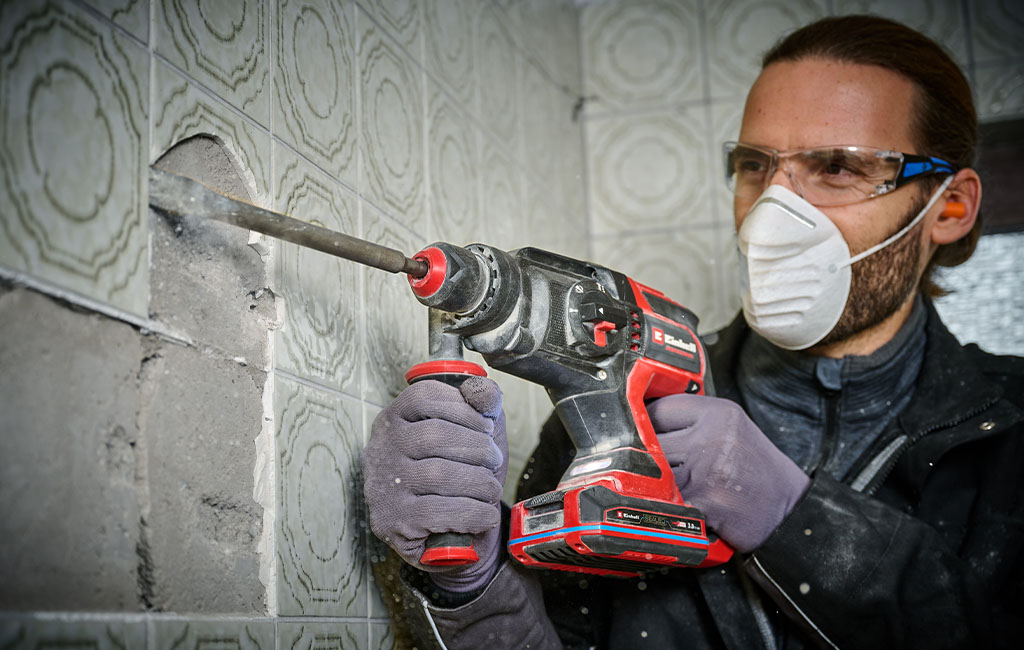
- Hammer and chisel: To remove the tile.
- Spatula and levelling compound: To smooth and prepare the surface.
- Tile adhesive, grout, and spacers: For setting and grouting the tiles.
- Grout remover and rubber float: For precise grout repairs.
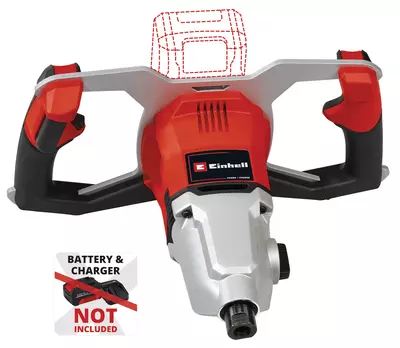
- Paint/Mortar Mixer or cordless drill with mixing attachment: For preparing tile adhesive and grout.
- Sealing Gun and smoothing tool: If silicone joints need renewing.
- Dust mask: Removing tiles generates a lot of dust.
Product was added to the comparison list.
Product was removed from the comparison list.
Open comparison list2. Carefully Removing the Tile
Now it's time to get to work! Follow these steps to remove a damaged tile:
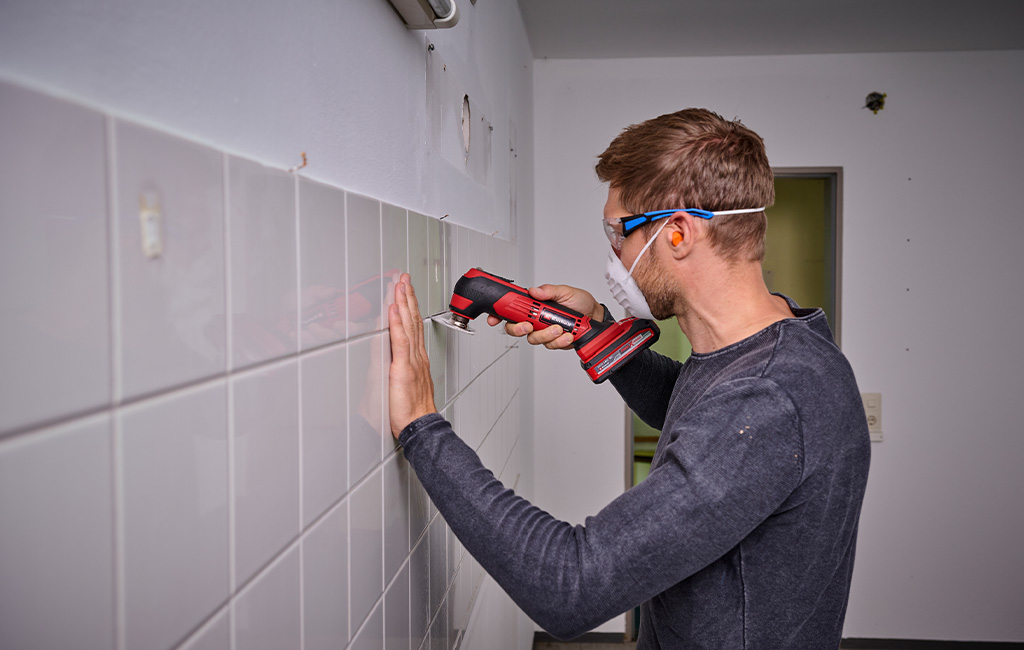
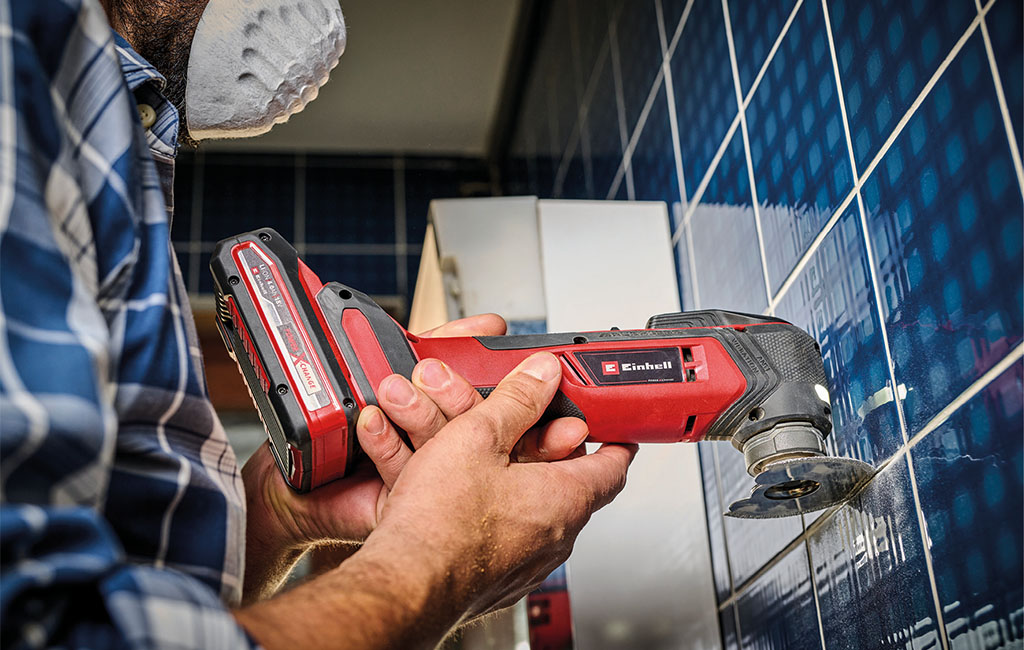
Cut the Grout Lines: To carefully cut the grout around the damaged tile, it’s best to use a multitool. The oscillating movement allows the tool to grind out the hard grout with a suitable attachment like a carbide segment saw blade without damaging adjacent tiles. Removing the grout prevents tension from transferring to the surrounding tiles when the damaged tile is removed. This helps avoid chipping or damage to neighbouring tiles while also creating enough space to loosen the tile more easily.
Score and Remove the Tile: Score the tile in the centre or carefully create a small hole to weaken it. This makes it easier to remove. By scoring or breaking a small section, you create fracture points that allow you to loosen the tile using a hammer and chisel. Work carefully, removing the tile piece by piece to avoid damaging adjacent areas. Take your time and ensure that the subfloor remains intact.
3. Preparing the Surface
A clean surface is essential for laying the new tile. This ensures optimal adhesion of the tile adhesive and prevents future cracks or uneven areas. A smooth surface also allows the new tile to be positioned precisely and level with the surrounding tiles—crucial for achieving a uniform, professional finish.
- Remove Adhesive Residue: Remove old tile adhesive and dirt using a spatula or multitool. A useful tool for this is the Einhell Cordless Multitool TP-MG 18 Li BL with a delta rasp attachment.
- Smooth the Surface: If the surface is uneven, apply filler compound to create a smooth base or sand it down as needed.
- Clean the Surface: Thoroughly remove dust and debris to ensure proper adhesion of the new tile adhesive.
4. Installing the New Tile
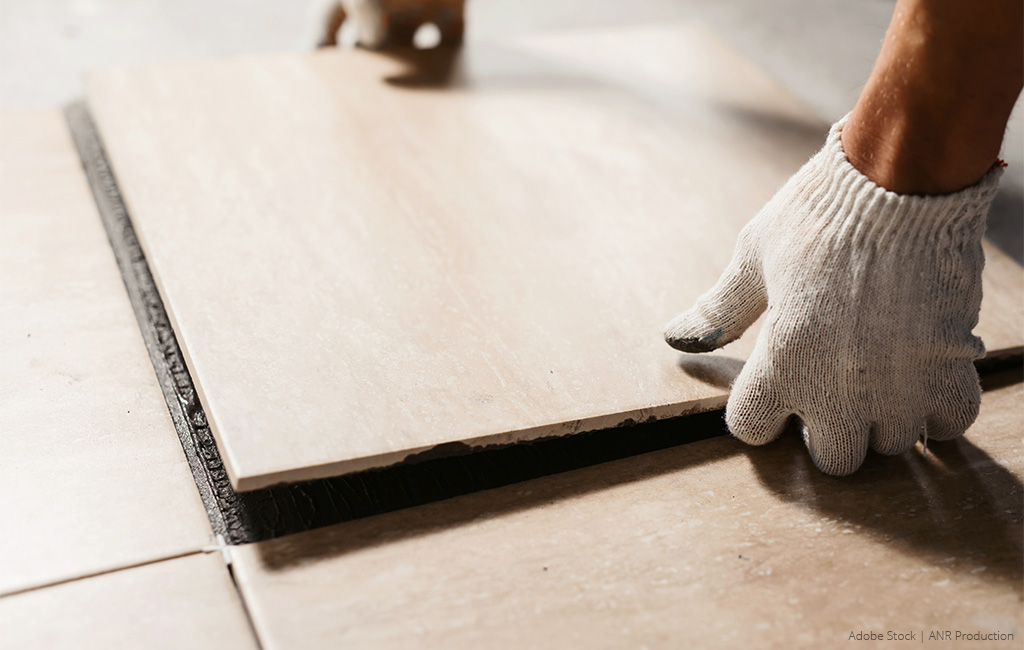
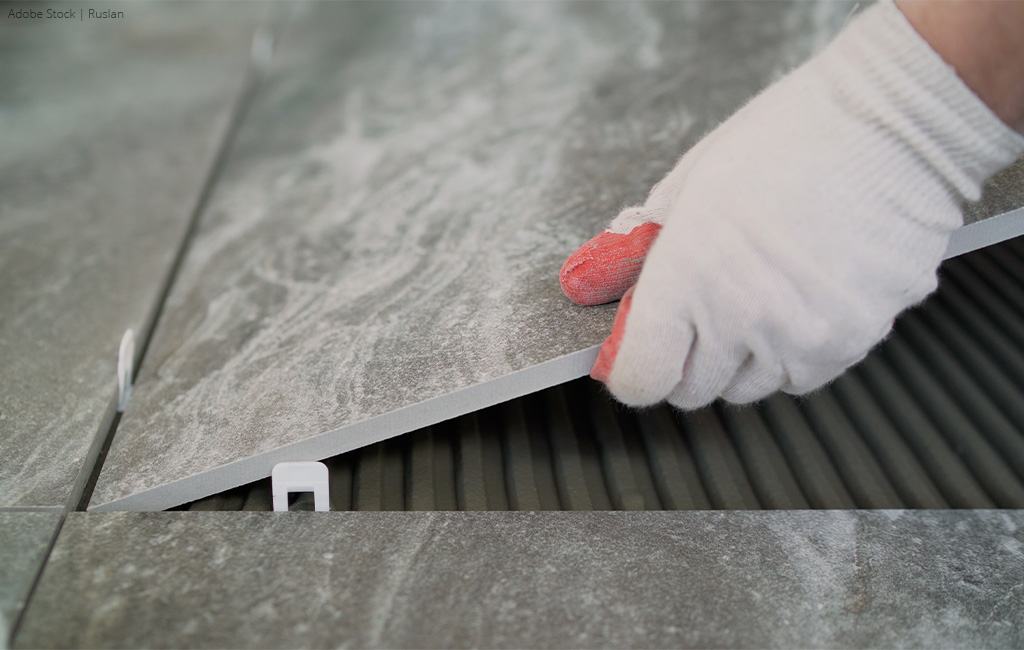
Now it’s time to install the new tile. Before mixing the tile adhesive, consider how much you actually need. For larger areas, a mixing tool is ideal to ensure the adhesive is blended smoothly and without lumps. However, if you're only replacing a single tile, you can usually mix the mortar by hand or with a cordless drill and mixing attachment. In any case, it’s important to mix the adhesive thoroughly to ensure even adhesion and a secure hold. Apply the tile adhesive to the prepared surface, carefully place the new tile, and align it precisely. Use tile spacers to maintain even grout lines and achieve a clean, professional tile finish.

Repairing or Reapplying Grout
The final step is addressing the grout – an essential part of ensuring a clean and durable result. Whether you’re repairing a damaged grout line or regrouting after replacing a tile, the process remains largely the same. After removing the old grout using a multitool and installing a new tile if needed, it's time to refill the joints. Apply the grout using a rubber float, spreading it evenly into the cleaned joints and smoothing it carefully. Remove any excess material immediately before it begins to dry. Allow the new grout to cure properly, then wipe the tiles with a damp cloth to remove any remaining residue.
Special Case: Renewing Silicone Joints
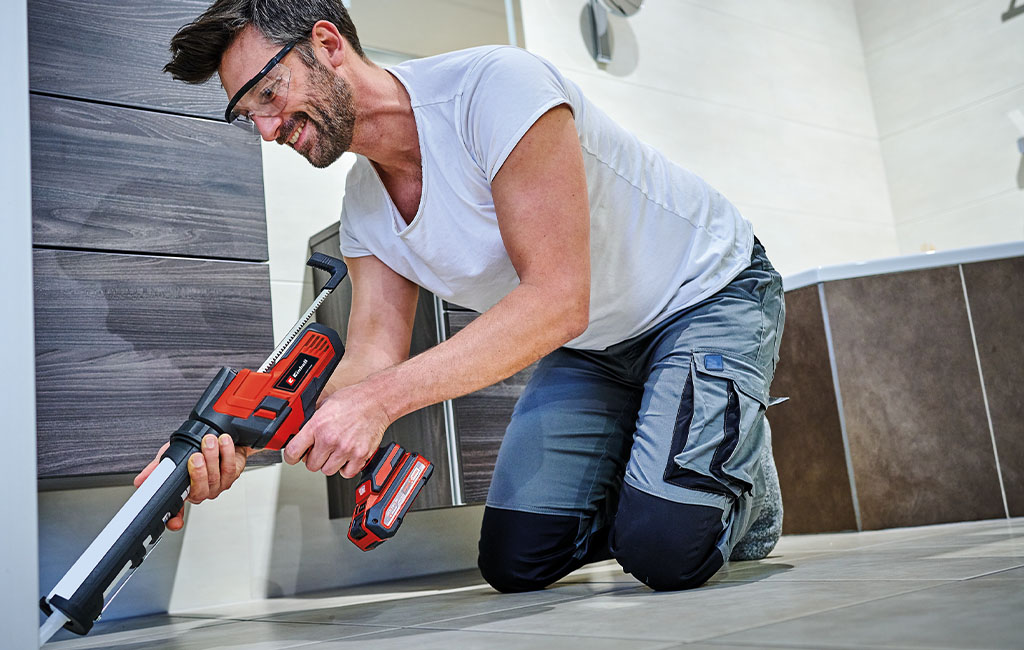
If the new tile is located at a transition area, such as between the floor and the wall, you will need an additional silicone joint. These expansion joints compensate for material movement and help prevent new cracks from forming. Apply the silicone using a cordless sealing gun, then smooth it with a joint smoother to achieve an even finish. For more details, check out our blog post on renewing silicone joints.
Conclusion: Replacing Tiles – No Problem with the Right Preparation
Damaged tiles are not only unsightly but can also pose a safety risk. With a little preparation and the right Einhell tools, you can easily remove and replace tiles yourself. Whether you're replacing a single broken tile or repairing a damaged grout line, our step-by-step guide will help you complete the project efficiently and with a professional finish!


